


There are two types of LED tube lighting fixtures: ‘plug and play’ (also known as ‘direct-fit’) and Direct-wire.
The catch with single-ended T8 LED bulbs is: You can direct-wire a ‘plug and play’ light but not vice-versa.
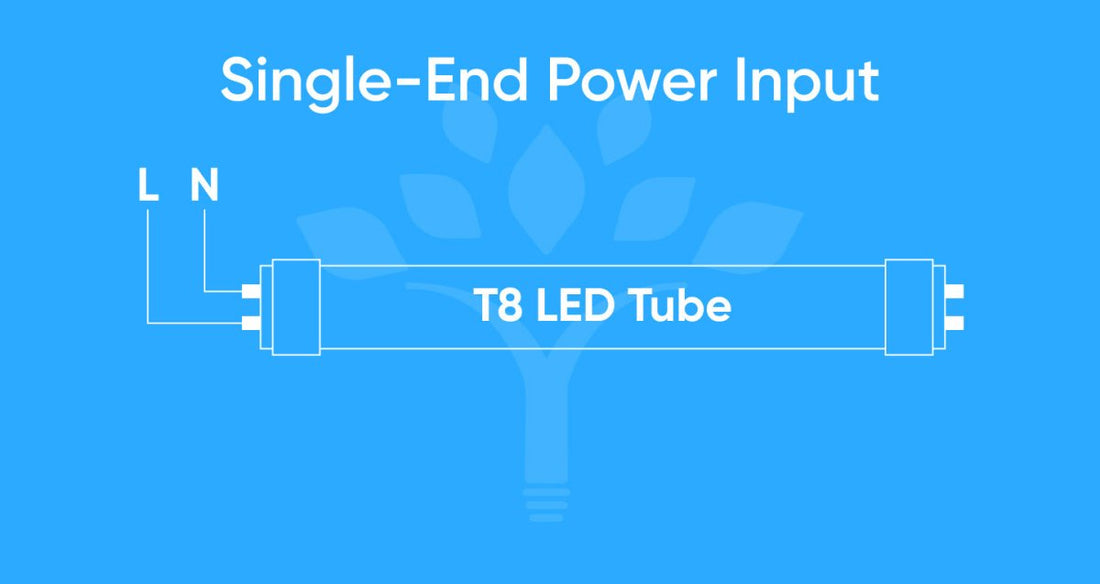
Before you start reading the process, know that the single-ended tubes are different from double-ended ones. The difference lies in the way the tubes receive power. Single-ended T8 LED bulbs receive power from one end, which means you’ll have to connect both live and neutral wires with a single end.
If you are looking for information about direct-wiring a double-ended tube, read this guide.
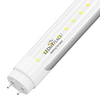
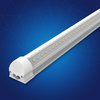
Also, there are several kinds of LED tubes. Albeit, we will use T8 LED tube light fixtures as a reference point for this direct-wiring guide.
Here’s a detailed description of direct-wiring a ‘single-ended’ T8 LED bulb:
Preparing The Fixture:
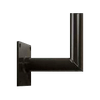
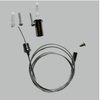
The first step is to check whether the tombstone is shunted or non-shunted.

- Our single-ended T8 tubes need a non-shunted tombstone, and the sockets for electronic ballast fluorescent tube lights are shunted.
- Therefore, if you wish to replace the fixture with a shunted tombstone, you’ll have to replace it with a non-shunted one.
- Now, check if the existing fluorescent bulb uses a magnetic or an electric ballast.
If your tube has a magnetic ballast:
Remove the tube and expose the accessories (starter and ballast)
Take off the traditional starter. Following, free the ballast by making a close cut on the wires.

If the tube you want to replace has an electronic ballast:
Bulbs with an electronic ballast do not require a starter.
Remove the ballast, and you will be ready to move on to making the electrical connections.

Making Electrical Connections
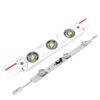
NOTE: Single-ended LED Tubes take input energy from one side. However, there are pins on both sides of the tube. The pins on the ‘non-energized’ side help in securing the LED tubes.

- Connect the hot (RED, BLACK, OR BLUE) and neutral (WHITE) wires to the tombstone wires.
- Use wire nuts or push-in connectors to secure the electrical connections.
- When direct-wiring a single T8 LED tube, you will have to make a series connection. Take help from the following diagram:

- For direct-wiring two or more T8 LED tubes, go with a parallel connection. Connecting the tubes in parallel will ensure that each tube is independent of the others. Meaning that any fault in one of the lights will not affect the others. Follow the upcoming diagram for making a parallel connection:

Checking The T8 Bulb
- Once the fixture connections are complete, install the T8 LED tube and secure it in place.
- Turn on the mains power supply.
- Switch on the tube light and check if it is working smoothly. Note that the light bulb should not flicker.
2 comments
thank you soo much
Thanks