


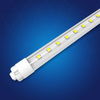


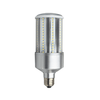


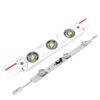


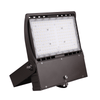


Read word for word to know how to install LED Wall Pack 26 watt, 20 watt or13 watt.
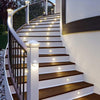
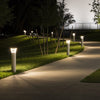
Why rose has thorns? Simple, to guard it. The best things in life need security and protection. You can facilitate that protection in myriad forms, like installing modern cameras, or placing sensitive speakers or appointing guards or installing sophisticated lights. These lights could be Flood Lights, Pole Lights or Wall Pack Lights.
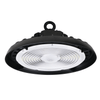
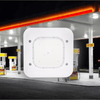
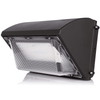
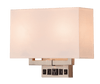
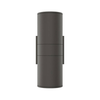
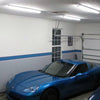
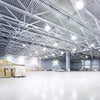
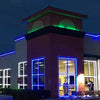
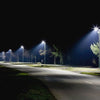
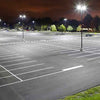
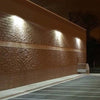
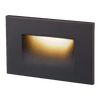
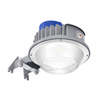
People have knowledge about pole and floodlights but they don’t know much about wall pack lights. Wall Pack Lights are commercial light fixtures that are installed on the walls of buildings, business parks, garage, and other locations.
These lights are installed to ensure security and protection. While purchasing LED Wall Pack Lights, one should keep a few things in mind. Like, where do you want to install these Wall Pack Lights? Beside this, knowing wattage, lumen, color temperature also helps in making the decision.
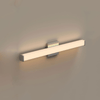
How LED Wall Pack lights are different from an ordinary Wall Pack Lights?
There are Halide LED Wall Pack Lights in the market, but picking LED Wall Pack Lights always pays in the long run. When you pick LED Wall Pack Lights, you don’t have to face issues, like dark spots underneath the fixture.
Where Halide Wall Pack Lights need maintenance, LED Wall Pack Lights don’t need much care. Halide Lights consume more energy in comparison to LED Wall Pack Lights.
LED Wall Pack Lights come with CCT, and because of that, one can increase visual perception without increasing wattages. The other feature that set these lights apart is automatic sensors. The moment intruder comes near these lights, sensors attached to lights alerts the security personnel.
Halide Lights consume more energy in comparison to LED Wall Pack Lights.
Now the big question is, how to install these lights?
Installing these lights isn’t rocket science, you need to follow certain steps for successful installation.
STEP 1: Drill four holes in the ceiling. And then insert plastic screw anchor into these holes.

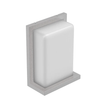
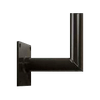
STEP 2: Place the fixed peg board against the wall, put 2 beveled sides of the fixed peg board downward and upward and then screw the mounting screws into the plastic screw anchors.

STEP 3: Screw a hex screw driver clockwise to tighten the fixing screws,
under the lamp body.

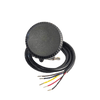
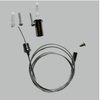
STEP 4: Connect the blue line and brown line of the lamp separately with the neutral line and the live line of the mains supply. The yellow-green ground wire must be earthed. Once the wiring is done, plug in the power supply.
Conclusion: We hope, you have understood the installing, in case you face any problem you can take an expert advice . Besides this, if there are questions regarding LED Wall Pack 26 watt or quality or wattage you can visit: ledmyplace.com