


Please note - It is always better to get professional help while installing this fixture. Yet, if you have basic knowledge of electrical circuits, you will be able to perform an easy installation. Also, make sure to disconnect the power supply before installation.
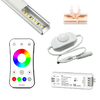
Wiring Diagram:

Instructions for installation:
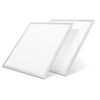
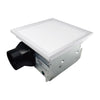
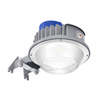
Installing a Recessed panel

- First, lift up the mounting clips present on the sides of the fixture. You can use a set of pliers for this, if not, do it by hand.
- Then insert LED panel into the T-bar ceiling grid. Make sure to fasten the safety cable to the connection hole.
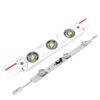
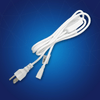
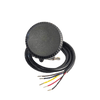
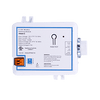
- Remove the driver’s cover by unscrewing it. Then, remove the knockout for the AC input wiring. In the case of a 0-10V dimming controller, all wires must run through individual knockouts.
Note: follow the wiring diagram and plug in the wires.
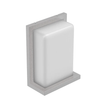
Installing a surface Panel

Note: The manufacturer does not provide frames with the panel.
- First, assemble the mounting frame. Use the screws and the connection plate.
- Mount the frame, then remove one side of its cover.
- Then, connect the input wires to the LED driver and fix the panel unit to the frame.
- Afterward, secure the frame cover.
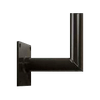
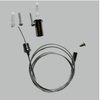
Installing a Cable Suspended panel

Note: The manufacturer does not provide the cables.
- Pull and remove the end cap of the cable ‘A’ through the rim.
- Then, fix the rim onto the ceiling with the use of self-tapping screws.
- Now, insert the end of the cable ‘A’ into the hinged plate that connects wires ‘A’ and ‘B’.
- Adjust the height and angle of the fixture by preference and need.
- Finally, hang the fixture to the ceiling and make sure that it’s at an adequate height.


