


The best thing about replacing kitchen light fixtures is that it's a universal procedure. Your most ceiling lightboxes are all the same size, and the same three wires are always attached and disconnected in the same manner. So there’s no need to do any research unless you want to make sure the size of the kitchen light fixture fits in the exact location you're planning to install it in.
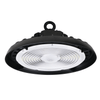
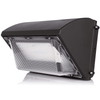
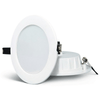
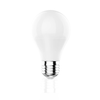
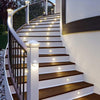
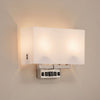
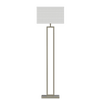
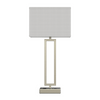
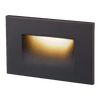
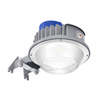
In theory, you can get any kitchen light fixture, like chandeliers, pendant lights, kitchen hanging lights, or kitchen island lights and install them in places in your kitchen that already have a light fixture installed.
The following steps will help you replace your existing light fixtures with new ones:
The first step is to turn off the electricity to the fixture you're replacing at the source. This entails locating your electricity panel and turning off the appropriate switch.

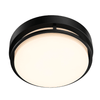
The canopy is a circular, broad covering that sits flush against the ceiling and conceals unsightly wiring and gear.
The canopy is typically held in place by a screw; simply undo whatever mechanism is in place and let the canopy fall.

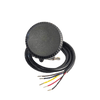
When you install a kitchen light fixture, three wires from the fixture are usually connected to three wires installed in the ceiling, and then the fixture hardware is mounted.

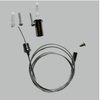
After removing the canopy, you should see three sets of wires — black, white, and green (or sometimes copper). They all must be disconnected before the old fixture can be removed entirely. To do so, separate the fixture wiring from the ceiling wiring by unscrewing the wire connectors.

The old light fixture can be removed once the wires have been disconnected. Although they are not always linked to the ceiling or electrical box in the same way, it's usually a screw or two. Because you're anchoring to the electrical box, which is firmly rooted in your ceiling, no anchors are required.
It's always helpful to have a second person on hand, especially if the light fixture is heavy and/or uncomfortable.
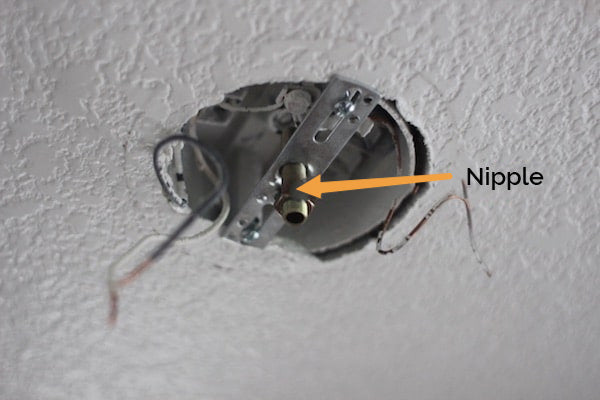
The three electrical wires hang from a generalized, pre-wired box in the ceiling that most light kitchen fixtures have. Your light fixture will have some form of the baseplate that will serve as mounting hardware. It's either a single bar "strap" with a "nipple" screw or a more universal circular mounting bracket. A bar strap is most common among kitchen light fixtures.

More information can be found in your kitchen light fixture's instruction manual. However, if your kitchen fixture comes with a replacement bracket, it’s always recommended to use it.

The new cables will have frayed silver ends, while the wires dropping from the ceiling will have bare ends. Screw the "frayed" threads on the end of the new black wire to the exposed end of the existing black wire, then twist the wired connection.
The new fixture's copper (or green) wire may be different; in some cases, it connects to a green grounding screw, while in others, it connects to a specific copper wire coming from the ceiling (electrical box).
Consult your kitchen light fixture’s instructions as well as your specific situation. If your ceiling has a copper wire already installed, connect the new cable to it. And wrap the new copper wire around the small screw on your mounting plate if you only have one.
If the fixture has a chain that doesn't sit flush against the ceiling, now is the moment to adjust it to the correct length. Again, refer to the fixture’s instruction manual because each kitchen fixture has a distinct mechanism for doing so. There's probably some extra chain or cord that must be stuffed into the ceiling or tucked away within the canopy. After you've taken care of that, you can secure the new kitchen light fixture by screwing a couple of screws into the mounting plate.
Now, if the kitchen light fixture lights up, rejoice. You did it.
And if the light doesn't turn on after you restore power, it's most likely because one or both of the white or black wires aren't entirely connected. So you’ll have to take the fixture down and inspect the wires and connections, then double-check everything.
If you plan to install a fixture in a brand new location where there was previously no light fixture installed, it is usually a job best fit for a licensed electrician.