

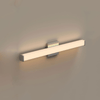


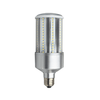


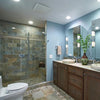

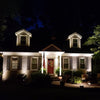
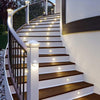

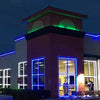


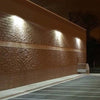


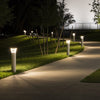


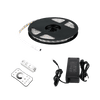


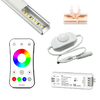


LED Strip Lights are the most endorsed lights that are used to decorate the indoor as well as outdoor spaces. They are available in multi-color and can be used to illuminate the area creatively. The colorful effect of the lights makes it very attractive and elegant.
It is effortless to install and can be used for straight 5 years without any replacement. At LEDMyplace, it comes with a warranty of 5 years. Apart from this, there is a LED Strips Light Kit that combines all the accessories required to install a strip light.
Now let’s talk about some steps that you will have to take before installing it completely.
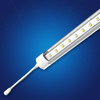
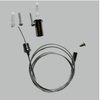
Cutting LED Strips Light

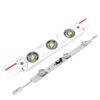
LED Strips Lights are supposed to cut from a particular place; otherwise, it can affect the entire strip of LED Light. The LED Strip Lights come with the 3M adhesive tape that is very helpful while installing. All you need to do is to remove the tape and stick it to the area you want.
The LED Strips Light soldier has the indication defining the right area to cut the strip of the light. After cutting the strips light, connect it with the connector.
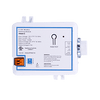
Choose the Driver Properly

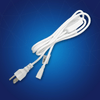
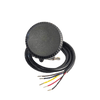
The Alternate Current (AC) is converted into Direct Current (DC) current with the help of the driver. The strip light can be appropriately used only with the compatible driver.
There are many drivers available with different wattages. You will have to choose the driver according to the Wattage of the LED Strip Lights.
For Example:
The wattage of the LED Strip is 120 W
Now add 20% extra that is 120 + 20% = 150 W (Round Off)
So the driver required for 120 W of LED strips Light will be 150 W or above.
Well, as the title says, now let us talk about the Installation of the LED Strip Lights.
Steps to Install the LED Strip Lights
1- Clean Up the Surface
LED strip lights are advised to operate efficiently on a clean surface. This step is necessary to keep the light fixed on the surface. Ignore rough or uneven areas that LED Strip Lights cannot help.

2- Stretched out the light to the surface and stuck it
Trolled on a coil are the LED strip lights, and these lights come with adhesive tape. Just unroll the illumination volume, remove the adhesive tape and stick to the desired surface. Push on each part of the strip so that the body is firmly attached and there are no air bubbles.
3- Link all the gadgets with the lamp and turn the light on.
When the light has been stuck to the surface, attach it to the controller, connector, and power adapter, and then connect it to the main electrical outlet.
Now, to change the color of the LED strip lights, use the remote control.
If one or more LED strip lights are to be attached, do so with the aid of the connectors, but only cut the strips from the area specified. Cutting it will damage the light in the unmentioned area.