


Ever danced in a room that changes colors with the rhythm of the music? Ever wished your bedroom could transition from a cozy yellow to a cool blue with just the click of a button? LED strip lights with remotes can make these wishes come true. But how do they work?
Introduction to LED Strip Lights
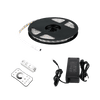
LED strip lights have gained immense popularity in recent years. Not just as a mood-setting tool for homes and parties, but also as an efficient lighting option. Consisting of a series of LEDs on a strip, these lights are versatile and can fit into various spaces.
The Magic Behind the Remote
The real magic is not just in the lights but in the tiny remote that controls them.
Infrared (IR) vs. Radio Frequency (RF)
Remotes usually work on two basic technologies: IR or RF. While IR requires a direct line of sight between the remote and the receiver, RF doesn't. Most LED strip light remotes use IR because it's cost-effective and reliable for short distances.
Working Principle of Remote-Controlled Devices
When you press a button on the remote, it sends a signal to a receiver connected to the LED strip. This signal then translates to a specific action on the LED strip, like changing color or adjusting brightness.
Components and Mechanism
So, how do the LED strip lights, the remote, and the receiver come together?
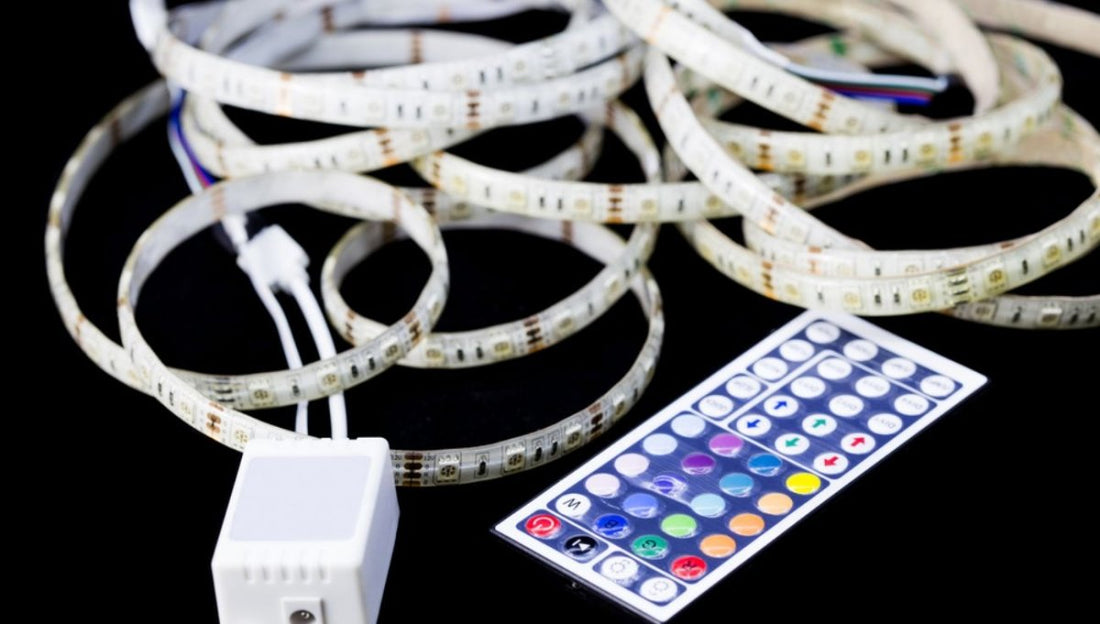
The LED Strip Light Itself
This is essentially a long strip containing small LED bulbs. These bulbs can produce different colors and intensities of light based on the signal they receive.
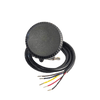
The Receiver
The crucial bridge between the remote and the lights. It interprets signals from the remote and adjusts the lights accordingly.
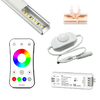
The Remote Control
Your magic wand! With buttons to adjust color, brightness, and other settings, it's the key to customizing your lighting experience.
Advantages of Remote-Controlled LED Strip Lights
Imagine changing the ambiance of your room without moving from your couch! Remote-controlled LED strips offer flexibility, energy efficiency, and a touch of modernity to your decor.
Setting up Your Remote-Controlled LED Strip Lights
Setting them up is a breeze!
Steps to Sync
- Connect the LED strip to the receiver.
- Point the remote at the receiver.
- Press the sync button, and voila!
Troubleshooting Common Issues
Facing issues? It could be a battery problem, an obstructed receiver, or a misaligned LED strip. Always check the manual for specific troubleshooting tips.
Customizing and Enhancing User Experience
One size doesn’t fit all, especially when it comes to lighting.
Color and Brightness Control
From fiery reds to calming blues, adjust to your mood. Want a dim-lit romantic dinner or a brightly lit workspace? You have the power!
Modes and Rhythms
Some advanced LED strips can dance to the rhythm of your favorite tunes or slowly transition through a rainbow of colors.
Safety and Maintenance Tips
While these lights are generally safe, avoid water exposure and ensure they're securely fixed. Clean them gently without abrasive materials.
Conclusion
LED strip lights with remotes offer a blend of technology, convenience, and aesthetics. Whether you're throwing a party or just reading a book, they have got the perfect light setting for you.
Frequently Asked Questions
-
Can I use one remote for multiple LED strips?
- Typically, if they're of the same brand and model, one remote can control multiple strips.
-
How long do LED strip lights last?
- With proper care, they can last for around 25,000 to 50,000 hours.
-
Are LED strip lights energy efficient?
- Yes, they consume less power compared to traditional bulbs and are more energy-efficient.
-
Can I cut the LED strip?
- Most strips have designated cut points. Always refer to the manual before making any modifications.
-
Do LED strip lights need a special remote?
- Usually, they come with their dedicated remotes. However, universal remotes that are compatible with various brands are also available.


, LED Lights for Bedroom, Kitchen, Home Decoration")
2 comments
Hello PATRICIA,
Thank you for reaching out about your Pariot Lighting Flexible Tape Light with the remote. To program the timer (2H, 4H, 6H, 8H) and use the Sunrise and Sunset buttons, please follow these steps:
Timer Function:
Press the ‘Timer’ button on the remote.
Use the arrow buttons (usually up and down) to select your desired timer setting (2H, 4H, 6H, or 8H).
Press ‘OK’ or ‘Set’ to confirm your choice. The light will now automatically turn off after the selected time duration.
Sunrise and Sunset Function:
The ‘Sunrise’ button typically gradually increases the brightness to simulate a sunrise effect.
The ‘Sunset’ button gradually dims the light to mimic a sunset.
To use these functions:
Press the ‘Sunrise’ or ‘Sunset’ button on the remote.
You can adjust the intensity or speed of the effect using the arrow buttons if available.
Press ‘OK’ or ‘Set’ to start the selected effect. The light will gradually change according to the chosen setting.
If your remote has specific buttons or markings different from the general instructions above, please refer to any included manual or documentation for more precise guidance.
If you still encounter any issues or have further questions, please don’t hesitate to contact Pariot Lighting’s customer support for assistance. They can provide you with more specific instructions based on your remote model.
We hope this helps you enjoy your Pariot Lighting Flexible Tape Light to its fullest!
Best regards,
LEDMyplace Team.
I bought a Pariot Lighting Flexible Tape Light that has a remote. There were no instructions included. How do I program the remote for the timer (2H, 4H, 6H, 8H); and how do I use the, I guess, the Sunrise and Sunset buttons?