
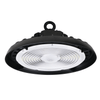


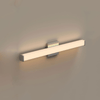


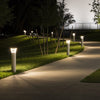


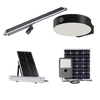


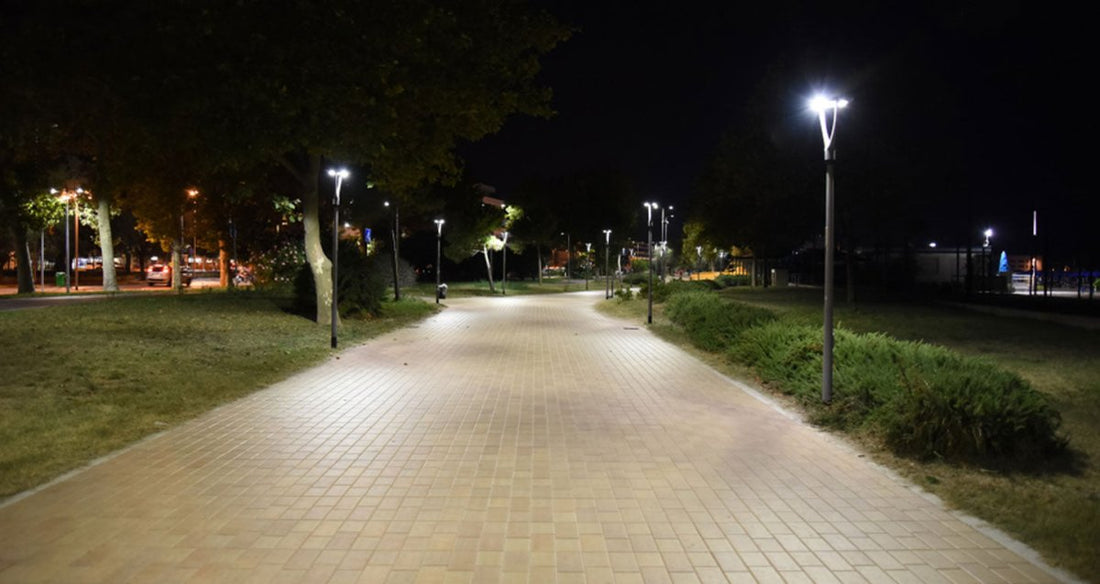
Technology has led LED lights to a long journey in order to upgrade them for a better outcome. Whether we talk about indoor or outdoor lights, you will easily find that these lights have evolved into more efficient features so that they can prove to be useful and more promising. Photocell is the perfect example of LED outdoor lights that prompts the efficiency factor.
This is a device that is additionally fixed in LEDs so that you can automate them. This is an efficient feature that helps in reducing unnecessary power consumption by allowing the outdoor lights to turn off when they are not required. Moving forward, you will learn key facts about the photocell fixture and how one should install it in outdoor lighting fixtures.
What do you mean by photocell?
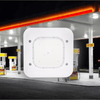
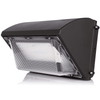
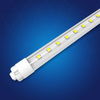
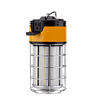
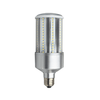
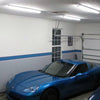
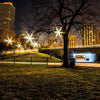
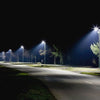
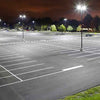
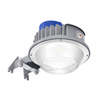
Photocell is a fixture that is additionally added in outdoor lights such as parking lot lights, LED flood lights, LED pole lights, and other LED lights. The device simply detects sunrise and sunset to turn the light off and on. Since light is not required during the daytime, the photocell ensures to turn them off.
Why are photocells used?
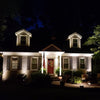
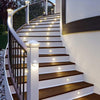
If you notice that your LED flood lights, LED pole lights, and parking lot lights automatically turn off during the day, then this is due to the presence of a photocell device. Simultaneously, these dusk-to-dawn lights turn on in the dark. The sensor detects sunlight or other natural light source and estimates that the premise does not require an artificial light source. This way, LED outdoor lights with photocells become energy-efficient as they help in reducing power consumption.
Furthermore, this does not necessarily mean that the lights with photocell will not work in the daytime. On the contrary, the device allows the light to glow in the daytime also. For instance, the device might not function properly if the weather outside is shady or cloudy during the day hours. This is because storm or rainfall does not let the sensor send signals to the lights to illuminate.

How does a photocell function?
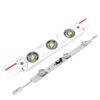
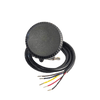
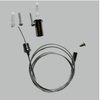
A photocell is a device that is comprised of metal and other materials. It basically works with a sensor that is responsible for detecting the atmosphere and allows the light to work based on that.
As discussed above, the sensor sends signals to the light to turn on if the daylight is not sufficient to make objects visible. Unfortunately, in some cases, the photocell is unable to detect the lack o sunlight and lets the LED lights turn on even when there is sunlight present. This malfunction is quite common. It usually happens if the photocell fixture needs to be secured with a shade cover. Photocells are quite sensitive, so proper coverage is required to ensure their longevity.
Moreover, photocells work even when it is raining. So, it would help if you made sure that thensured that the device was with a rain cover or a plastic bag.
Benefits of using photocell in outdoor lights
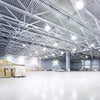
Outdoor lights like parking lot lights, LED flood lights, LED pole lights, LED wall pack lights, etcetera can surely use photocell devices. This is because they will make these lights more efficient. Also the longevity of the lights will also increase because instead of glowing during non-required hours, the lights will only illuminate when the natural light source is unavailable. Apart from that, photocells in outdoor lights have several benefits.
- Photocells make LED lights energy efficient.
- Reduces the maintenance cost of LED outdoor lights.
- They are cost-effective.
- They don’t require additional wiring for installation.
- It makes the lights an eco-friendly alternative.
- It is ideal in lights for security lighting purposes.
Steps to follow to add photocell in outdoor lights
Inserting a photocell device in outdoor lights is a manageable task. If you can detect the right wires and how to join them, you can easily add photocell to your LED flood lights, parking lot lights, LED pole lights, and other LED outdoor lights. There are the steps mentioned below that will help you with your installation.
Turn the main power circuit off before proceeding to add photocell in the LED lights. You will find the circuit breaker outside the premise beside the weatherproof box. However, if you are still determining where it is and how you are supposed to do that, you can call for help from a professional.
Unscrew the existing outdoor flights from their mounting. Make sure to hold the fixture with your hand once the screws are loosened to avoid breaking or damaging it. Keep the loose screws somewhere safe so that you don’t lose them. Also, keep the fixture in a secure platform.
Generally, exterior lights with photocell have 2 basic types, i.e., conduit or junction box. You need to find what type you have got as it can change some steps in the installation procedure. However, it would be better if you have a fixture with an already installed conduit or junction box.
Now, take the photocell device and the right tools that will be required for its installation prior to commencing installation.
Mark 4 inch gap from one end of the wires and separate the insulation cable with the help of a plier. Do not cut the wires inside the insulation. Now you will end up with 1 white and 1 black color wire, plus 2 remaining insulated cables.
Now, strip more than half an inch of insulation cables from all the wire ends. You will have 1 black, 1 white, and 3 copper wires.
Collect the wire’s ends together by twisting them and fixing them on the connectors of your junction box or conduit. If you are facing difficulties in holding the connections together, use a plier to do the drill. Make sure that you are connecting the right color wire with the ideal one, otherwise the entire procedure will not result in your favor or could ruin your fixture.
Take the black wire and fix a large nut. Then, insert it inside the conduit or junction box. If you are using a conduit, then you need to use duct tape to keep everything in place, but with a junction box, you can simply push the wires on the backside and screw them tightly with the help of a plier.
Now, install the photocell device on the conduit or junction box. For that, you need to ensure that the wire’s ends are secured appropriately. In addition, there might be the possibility that you need to adjust the wires by gathering them closer.
Strip about an inch of external covering from the white wire and twist the stripped wire with the photocell device’s cable. It is fine if you are left with 2 white wires because you have already connected the rest of the wires together.
Take electric tape and wrap it around the intertwined wire connection. Now secure the junction box or conduit with the help of nuts or duct take so that everything can stick to its place.
Now, use a plier and hang the device to the junction box. You can use mounting brackets of the outdoor lights to fix the photocell device to the junction box or conduit. Tightly secure the device with the help of a plier.
Before securing the fixture, make sure to check if the photocell device is appropriately connected to the. Turn on the exterior lights and ensure that the sensor is responding correctly or not. It should let the light go off automatically when detecting external light. If not, then check for the wire connection and do it properly. Once done, cover the outdoor LED lights and mount them.
, Bronze Waterproof IP65, Parking Lot Lights - Outdoor Commercial Area Street Lighting")

1 comment
Good 👍