
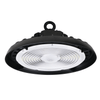


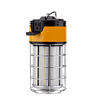


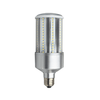


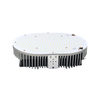


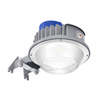


While looking for a lighting fixture for the wide space is an easy process. LEDMyplace helped many commercial and industrial space to find their ideal lighting solution. UFO LED High Bay Light is an energy-efficient lighting source that operates on the low energy and leads you to save 75% on lighting cost.
Choosing the best lighting fixture is can be easy but the most difficult part is the installation and mounting procedure. You can install this fixture in the commercial space and industrial space. There are two types of mounting ways such as hook mounting and ceiling mounting. LEDMyplace is providing the types of mounting procedure below:
- Hook Mount
- Ceiling Mount
Different installation procedure identifies the different application and usage of the lighting fixture. We have mentioned the installation process below, make sure that you follow then step by step:
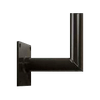
Hook Mount
It is the easiest procedure to fix the lighting device on the high ceiling:
Step 1: Find a hook which is three times heavier than the fixture and screw in the fixture and tighten it. Switch off the power supply to prevent yourself from high voltage electrical shock.
Step 2: Firmly leave the fixture to test it that it is not fell down.
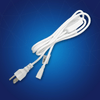
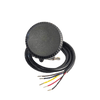
Step 3: Connect the wires as mentioned below:
- Connect the black/brown and white/blue of the AC (Alternate Current) input line separately with the white the live (Neutral)line.
- The yellow-green ground wire must be connected with the earthing line.
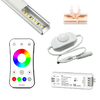
- To make the lighting fixture dimmable, connect the dimmer with the dimming signal line (DC+ and DC-) port to correspond the line with dimmer.
|
Note Make a wiring connection according to the local standards and make sure that you have made protected connections. (after the connection, secure the wire with duct tape). |

Step 4: After the connection, switch on the power source to illuminate the space from the high ceiling.
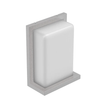
Ceiling Mount
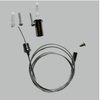
Step 1: With the help of a sharp tool or chalk, mark a sign on the ceiling where you install the UFO LED Light and drill the hole by the drilling machine.
Step 2: Put the expansion screw in the holes and tighten them with the hammer.
Step 3: Align the U-bracket fixture with expansion screw and fix the fixture into the lighting fixture then tighten the nuts of the screw.
Step 4: Connect the wires same as the hook mounting wiring procedure. You can adjust the lighting fixture at 50-degree right or left in the vertical directions.
|
Warning
|
Conclusion
If you want any other information related to the installation and mounting process then feel free to contact our LED experts on (815-697-5223) or live chat with us.
